
[ Deployment Sequence ] [ Experimental Results ] [ Simulations ]
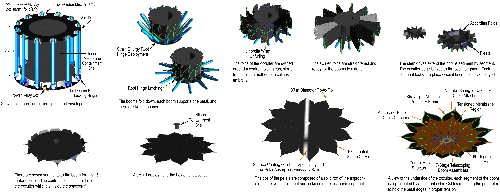
Below are two deployment sequences for how the starshade works. For more information about starshades, click here.
 |
Step One
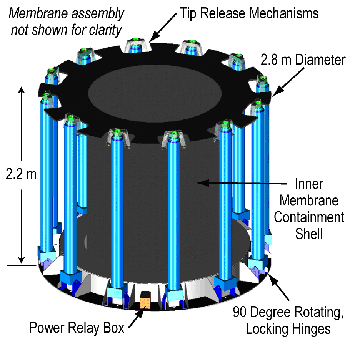 |
This is the stowed configuration of the starshade, inside the spacecraft. |
Step Two
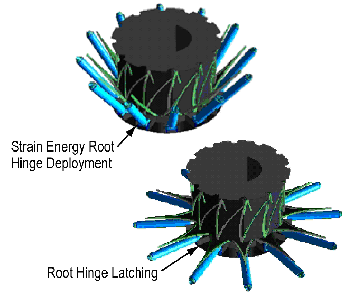 |
The booms fold down. Each boom supports one petal, for a total of twelve booms. |
Step Three
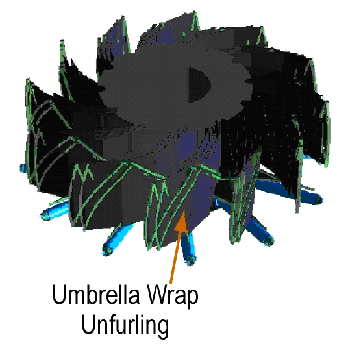 |
The folds of the starshade are swirled around a central holding cap, similar to the folding method of a collapsible umbrella. |
Step Four
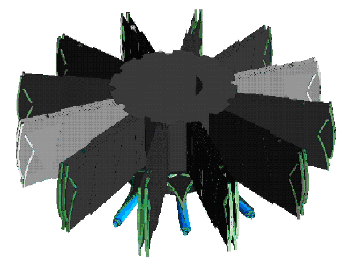 |
The swirled folds are straightended, and ready for the booms to extend. |
Step Five
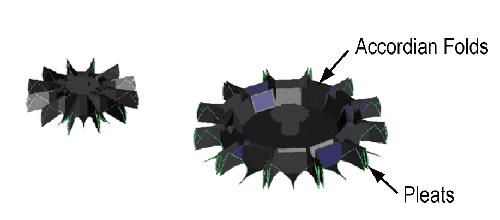 |
| The stem drives extend the booms segment by segment. The edge of the starshade is fixed to the boom segment. Each segment locks into place when it becomes fully deployed. |
Step Six
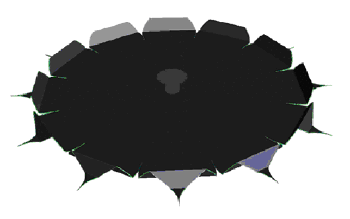 |
This starshade has only seven segments for each boom, because it is only 25 meters across (the real starshade would be about 50 meters across). The central object is a holder for the starshade while it is in the spacecraft. |
Step Seven
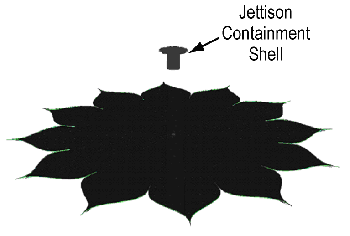 |
After full deployment, the central holder is jettisoned. |
Step Eight
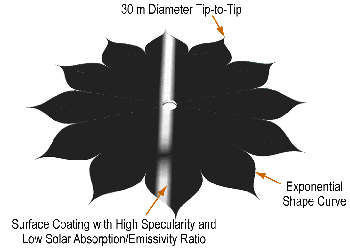 |
The tips of the petals are composed of a solid rod of the appropriate shape, which folds out and locks onto the last boom segment. |
Step Nine
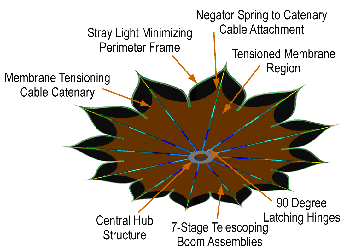 |
This image shows a view of the underside of the starshade, at complete deployment. Each segment of the boom is represented by a different color. Cables run along the perimeter of the starshade to hold the petal edges in proper tension. |
To see a table-top deployment sequence, click here.